
How the build went
Use these notes with the video. Repeated chapter links start at the relevant section, not at each individual action.
Prepare the pin tools
I used a watch support platform, a pin punch and a small hammer. Keep the case supported and the pin exit clear. The screen protector in the video is a separate optional change.
Watch from 00:27 ↗Remove the original strap
Follow the arrow direction on the original strap. my punch slipped alongside a pin on one attempt. I repositioned it before continuing. Stop and realign if the punch is not contacting the pin.
Watch from 00:42 ↗Fit the adapters
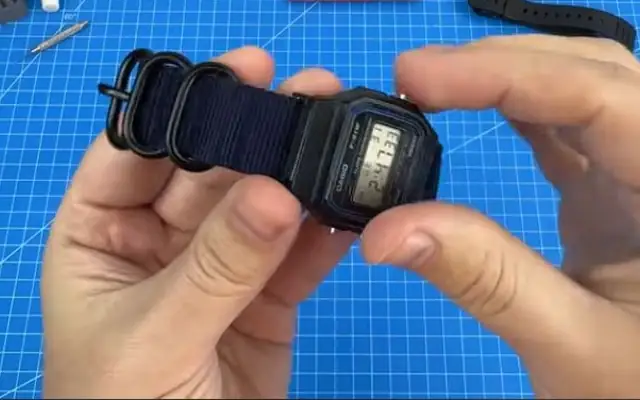
Tmy sample used 18mm to 20mm adapters with quick-release spring bars. I operated the small levers with a fingernail. The levers did not obstruct movement, so I left them intact. Check both bars are seated before threading the strap.
Watch from 01:47 ↗Thread the 20mm strap
Thread the strap through both adapters. The adapters and strap were somewhat slippery in this build. Check the strap is secure and the adapters can move without binding.
Watch from 02:42 ↗Try both ways of wearing it
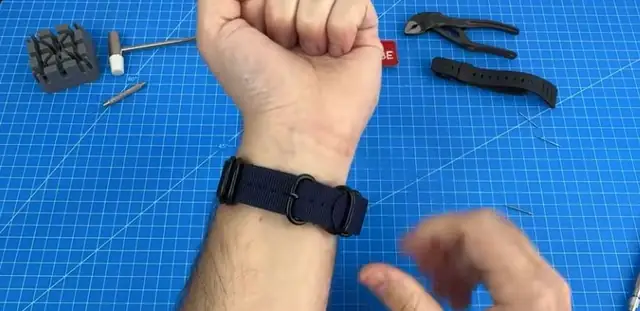
The usual doubled-under NATO arrangement left overhang on my wrist. My alternative threading, shown in the video, gave a nicer fit. Zulu rings still felt bulkier than the original resin strap. Choose the arrangement that sits securely on your own wrist.
Watch from 03:17 ↗
Where it can get awkward
The punch keeps slipping
Stop tapping and check that the punch contacts the pin rather than the gap beside it. This happened in the original build. Do not keep hammering a misaligned tool.
The watch sits higher than expected
Adapters, the fabric under the case and Zulu hardware add bulk. I demonstrated another threading arrangement at 03:17. If a low profile is your priority, the original strap may suit you better.
The adapter lever seems to catch
Do not break off the lever based on this guide. I left the levers intact on my sample. A different adapter needs its own fit check.
Tools to check first
The hammer set needs a suitable pin punch and support platform. A quick-release lever operates the new spring bars, but it does not remove the old push pins. Check what your set includes before buying another tool.
Push pins, spring bars and sizing pins explained →
Before wearing it
- Check both spring bars are fully seated and the strap cannot pull free with a gentle check.
- Check adapter movement, buckle closure and loose strap length before wearing it out.
- Recheck for movement after the first wear. That is a suggested check, not a documented long-term test.
Your pre-build checklist
Saved on this device. These checks are also included in your copied plan.
Evidence & current fit notes
Hands-on source: Original GOAT Reviews build ↗. Watch my original build and use the chapter links above to see how each step went.
Current seller status: The original route is for 18mm to 20mm adapters. Current merchant variant details have not been verified. Match the adapter, not just the nominal width.
- Casio F-91W model details ↗
Official stock-watch reference. It does not certify an aftermarket adapter.
External references were checked on 12 October 2026. I’ve labelled the maker’s current guidance separately from what I tried myself. I haven’t pressure-tested these modified watches.
Found a changed part or broken link? Leave a correction on the original video ↗ with the model and listing details. Avoid posting personal information.
Alternative: Try leather on the gunmetal F-91W →
Back to the build shelf →